Sell Products You Don’t Have on Hand
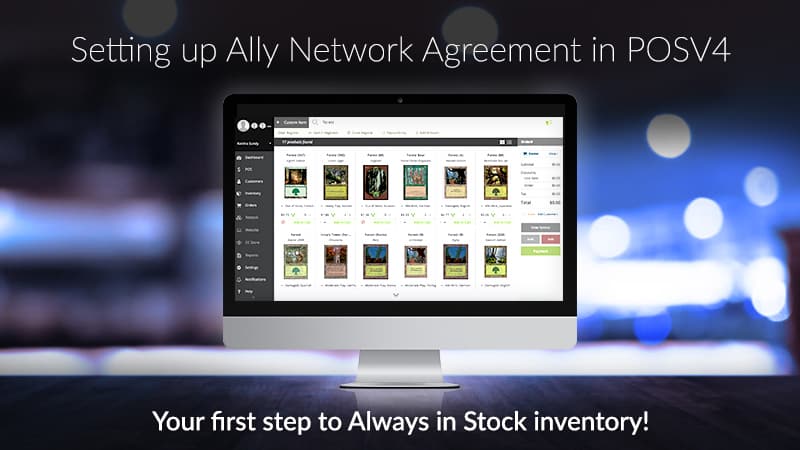
One of the biggest features POSV4 has is the Always in Stock. Always In Stock lets you sell products you don’t have on hand – even if you don’t carry them. It also lets you make sales at hundreds of other locations without actually being there.
Always In Stock is possible through the cooperation of hundreds of Ally Retailers, Manufacturers, Distributors, and Affiliates in the CrystalCommerce network. An Ally Network is a selection of other vendors you trust who can become your source for an ever-growing pool of Always In Stock inventory. The Always in Stock inventory from any location will be available for you to sell. This is how your Ally Network is formed.
To have your Ally Network, you will need to create an Ally Network Agreement. The Ally Network Agreement is the legal binding arrangement between you and your trusted allies or vendors. The Ally Network Agreement specifies the exact fees, rates, shipping options, shipping timeframes, branding, discounts, carriers, and terms and conditions that you and your allies agreed upon.
Setting up your Ally Network Agreement in POSV4 is fast and easy.
PRO-TIP: In future updates, in addition to having the Ally Network Agreement set-up in POSV4, it will also be available in your Admin or Dashboard.
Let’s go ahead and start with step one: choosing your allies.
Step 1: Choose Your Ally
The first step in setting up your Ally Network is choosing your ally type. You can select Retailers, Manufacturers, Distributors, or Affiliates. The type of Ally that you will want depends on the Ally Agreement that you are trying to create. If you choose to have Manufacturers, Distributors, or Affiliates in your Ally Network, you will need to create an Ally Network Agreement for each ally type. For example, if you are building an Ally Network of Retailers, you will have to choose Retailers.
Currently, there are 925 available and potential allies in the CrystalCommerce network. On the screenshot below, it shows that there are 925 possible and potential allies that you can add to your trusted vendors. In this article, we will choose Retailer as the ally.

GIF Figure 1, Step 1: Choose Your Ally
Step 2: Choose Your Product Types
Choosing Product Types allows you to select what type of products you want to sell and accept within your Ally Network Agreement. In the CrystalCommerce Catalog inventory, you have over 200 product types to choose from. For example, Magic Singles, Board Games, etc. When selecting your Product Types, you have to put into consideration that some of your potential allies might not want certain Product Types available for reasons such as: they are only offered in their store, or they do not want to ship products that do not fit in an envelope or a small package.
The selection of Product Types is also not just your ordinary list. You will notice that the Product Types are sorted based on their performance in revenue sales. You can also click the Browse Alphabetical button to sort the Product Types alphabetically. In addition to the default sorting, a number of Potential Allies will be displayed as well as the Network Sales of the specific Product Type within 30 days. This will help you decide on whether you will want to add the Product Type in your list or not. Additional filters will be available in future updates.
PRO-TIP: While following the steps to creating your Ally Network Agreement you will see a question mark (?) icon. Using your mouse, you can hover over it, and it will display hints or tips while you’re setting up your Ally Network Agreement.
 GIF Figure 2, Step 2: Choose Your Product Types
Step 3: Setup your Rates
After choosing your Product types, it is time to set up the rates. In this step, you will set up the two-way referral fee between you and your allies. Settings Advisor will also start to appear and help you decide your preferences. How much should your ally pay you when you sell their product? What referral rate will you pay an Ally when they sell your product? How should the price be adjusted for an Ally selling your product? The amount that will be displayed across the network will include these adjustments. You can also customize rates for each product type.
 GIF Figure 3, Step 3: Choose Your Product Types
PRO-TIP: While following the steps to creating your Ally Network Agreement, you will notice the Settings Advisor. When our members are adjusting specific preferences within their admin, the Settings Advisor can be a helpful and trusted source of information. The Settings Advisor can give feedback and suggestions on what the optimal settings would be based on the data we have available at the time. This means that you can be confident in your decisions when setting your Ally Network Agreement preferences. The Settings Advisor is a feature we plan to introduce into some areas of our platform in the future updates.
Step 4: Shipment Branding
When you are done setting up the rates, the next step would be specifying branding rules for shipments or referred sales. When you sell a product to your customer with the help of your ally, you can choose whether you use your store brand or your ally’s store brand when you ship the items. When your Ally sells a product using your inventory, you may choose to brand the package with your store brand or your ally’s brand. Settings Advisor will show the percentage of allies that agree with your preference.
 GIF Figure 4, Step 4: Shipment Branding
*Settings advisor says 55% of allies agree on branding the package with your ally’s store brand instead of branding it with yours and 55% of allies agree on branding the package with your store brand instead of branding it with your ally’s.
Step 5: Wholesale Discounts
When your Ally buys directly from you, you can also set up the Discount rate between you and your ally’s direct orders.
 Image Figure 5, Step 5: Wholesale Discounts
Step 6: Shipping Options
In this step, you will be able to set the shipping preferences. You have a choice of whether or not you want to offer free shipping options on all direct orders with your allies. Setting up a Free-Shipping threshold is one of your options as well.
 GIF Figure 6, Step 6: Shipping Options
Step 7: Choose Your Carriers
After setting up your shipping options, you will be asked to choose Carriers. Currently, there are three carriers options– UPS, USPS, and FedEx. If the customer is local and you wish to have the products picked up from your store, you may choose to have the products locally picked up and dropped off between allies in your network.
 GIF Figure 7, Step 7: Carriers
Step 8: Shipping Timeframes
In this step, you will be setting up the shipping timeframes. You will set up the maximum time from order to shipment and shipment to arrival when your ally ships to your store or your customer and when you ship to your ally’s store or your ally’s customer. The Settings Advisor will be displaying an estimated time of arrival and will show how fast or slow your shipping timeframe is.
 GIF Figure 8, Step 8: Shipping Timeframes
Step 9: Terms
When should you and your allies exchange payments? You can create up to three rules: Time-based, Fund-based, or on each transaction. With the Time-based option, you may choose Daily, Weekly or Monthly. You can set a specific price on a Fund-based option. When you add a Fund-based trigger, and the network sales funds reach a specified amount, the payment will be made even if a recurring time frame hasn’t been reached. GIF Figure 9, Step 9: Terms
Step 10: How do you pay your Ally?
And finally, the last step of the process. This is where you add the payment details that will be used for your ally’s payments.

Launch: Agreement Document
Congratulations! You can preview your new Ally Network Agreement here.

Name Your New Ally Network Agreement
As I mentioned in the beginning, you will have multiple Ally Network Agreements depending on your Target Members (Step 1). Once you are done with the process of setting your preferences for your Ally Network Agreement, one of the last steps would be giving your Ally Network Agreement a name.

These are the easy steps to create your first Ally Network Agreement. Setting up your Ally Network Agreement will also be available in Retailer Dashboard or Admin in the future updates. This is your first step into having an ever-growing pool of inventory, your “Always in Stock” inventory.
Story developing, more to come.
Feel free to email me at marketing@crystalcommerce.com if you have any questions. Thank you for reading.